 |
 Safety Emporium is a proud sponsor of this site. |
 |
 Home Page --> Glass Flange Port Repairs
|
Glass Flange Port Repairs
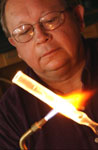
A time consuming step in repairing or modifying shallow glass flange ports can be in the fabrication of a relatively air tight and secure holder for the flange. Many creative fixtures have been made by glassblowers and I'd like to add one more to the mix. Simplicity and easy access to material are often factors in design and this one follows those rules.
The problem we will address here is how to modify and/or repair a series of 60 - 80 mm flange heads.
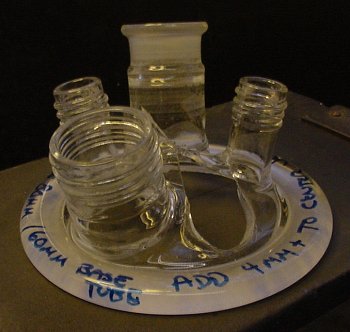 |
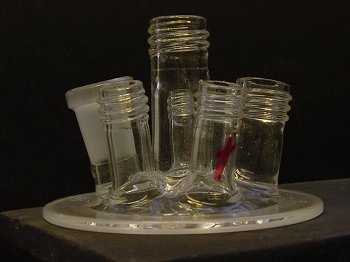
1. On the left we see an example of a broken flange. In this exercise, the intact flange shown above will be modified by removing and replacing the marked joint. |
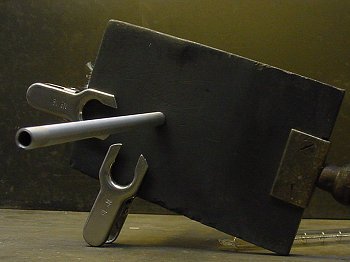
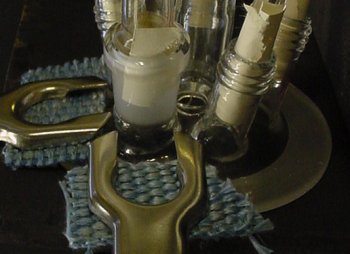
2. Our fixture is a graphite flat about 10 mm thick that was drilled and tapped to accept a hollow threaded metal tube. Standard pinch clamps will be used to secure the glass flange to the graphite. |
3. The hollow metal blow tube protrudes slightly above the graphite. The tube is adjustable to accommodate variable clearance issues. The blowhose is attached to the other end of this tube. |
|
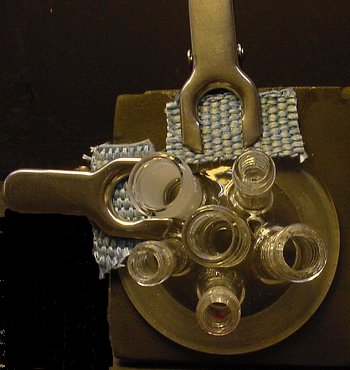
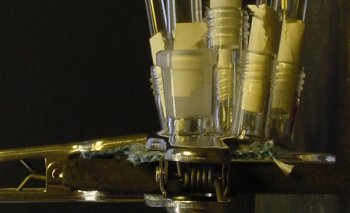
4. Three views of the fixture and glass flange assembly. The woven glass/ceramic cloth serves as a compressible buffer between the clamp and glass. Clamp placement is adjustable to fit various flange configurations and sizes. Not seen is the handle attached to the graphite flat; typical repairs are made at the bench with the fixture held by a ring stand. |
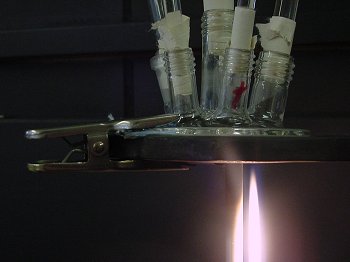
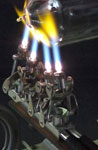
5. Pre-heating the glass flange is easily accomplished by directing the torch flame onto the bottom of the graphite flat. |
6. Heating the graphite to color is not always necessary and avoids overheating the metal blow tube. |